Recently, I had to deploy a MERN (MongoDB, Express.js, React, Node.js) application on an AWS EC2 instance. Despite putting in hours of research, I found a notable lack of comprehensive resources guiding the deployment of both the React application build and the Node.js server on the same instance with Dockerization.
In this blog, I will share the step-by-step process, along with the struggles and solutions I encountered, aiming to provide a thorough guide for fellow developers navigating the complexities of dockerizing & deploying a MERN stack Application on AWS.
Let's dive in to explore the right way!
What do we want?
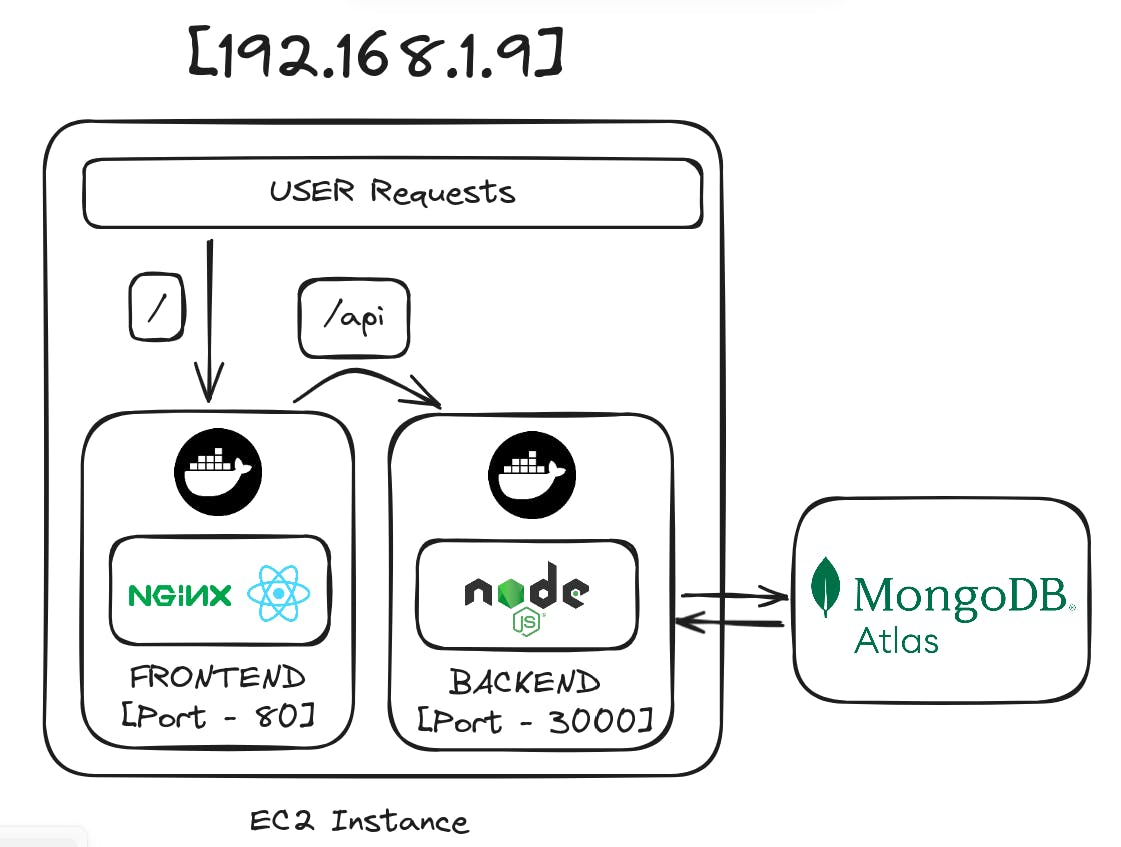
We need an Amazon EC2 instance with Docker running inside it, operating two containers.
Prerequisites
MERN Application - To be deployed
AWS Account - You can use a free tier account to avoid charges.
Docker Hub Account - To store your Docker images
Docker - Locally installed on your system
Let's Begin!
In the blog, I'm expecting you already have a MERN Application or you can use this sample application - https://github.com/Ayroid/MERN-DEP.
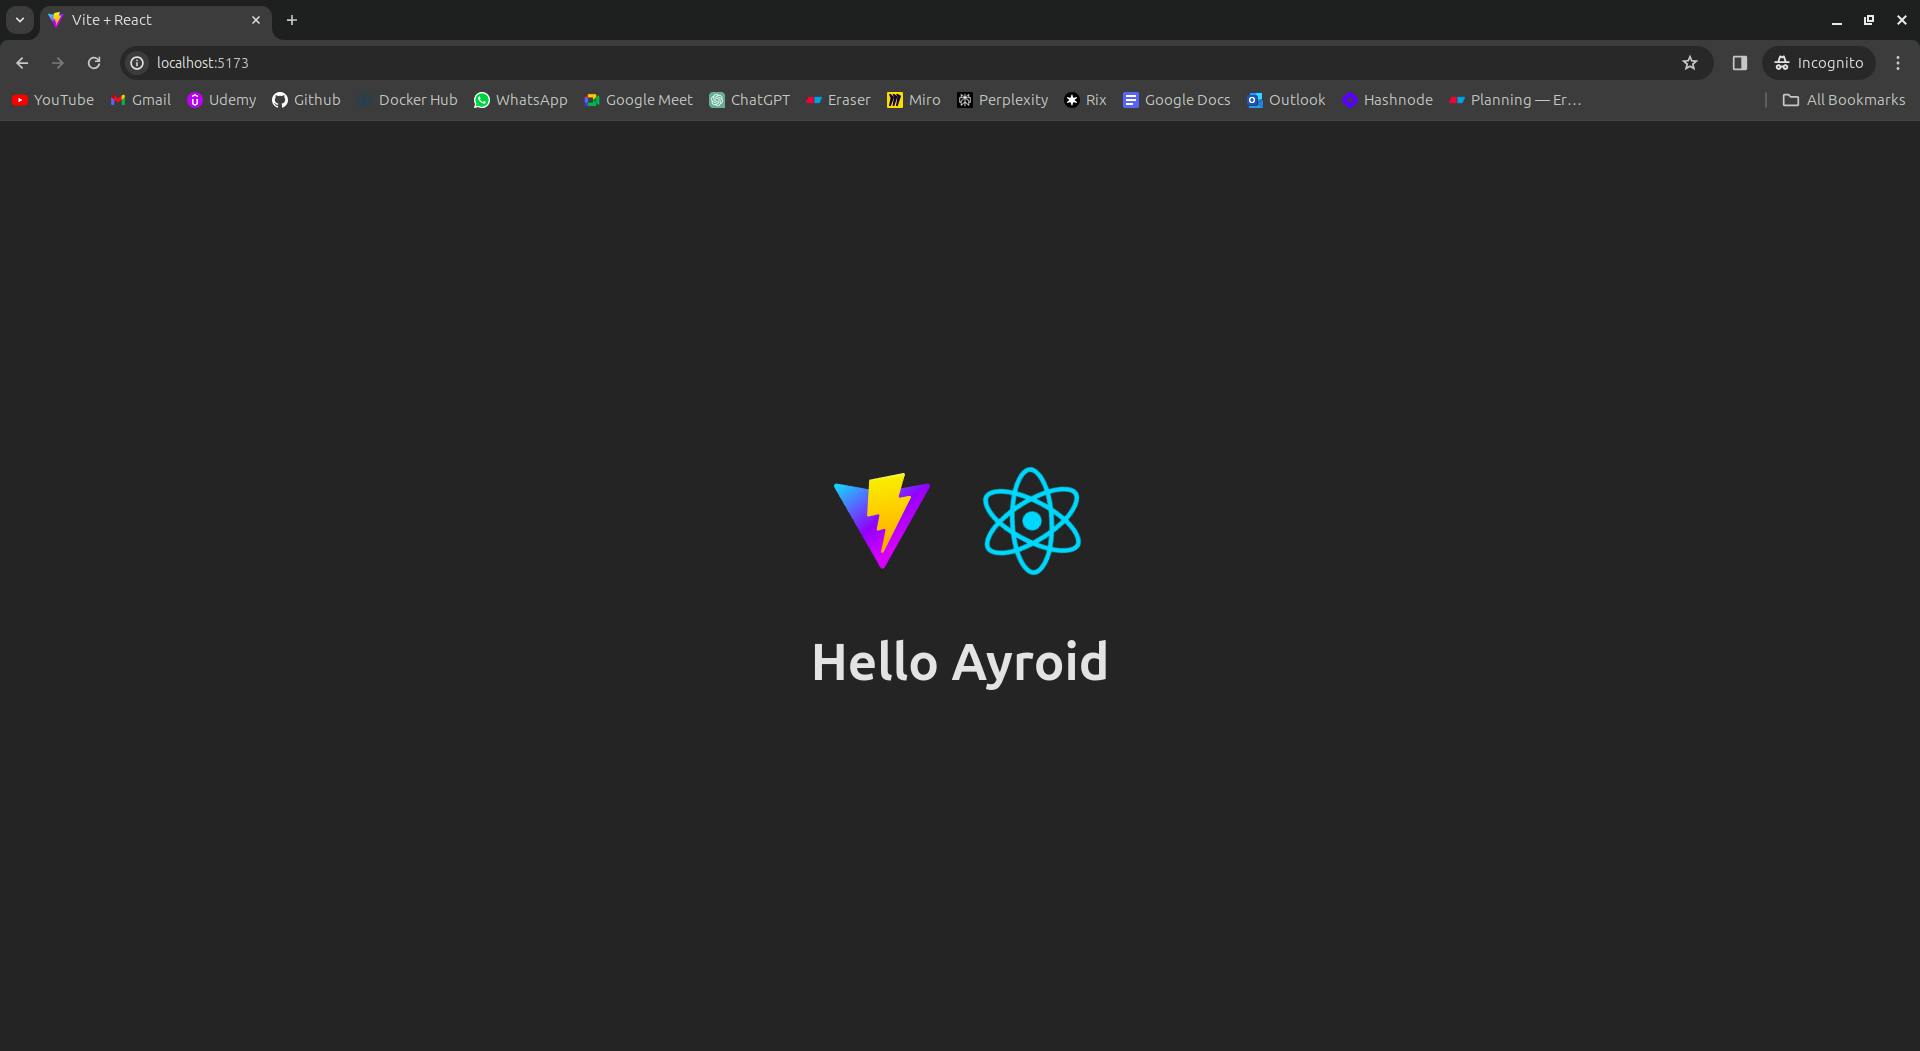
This Application is a very simple MERN application that fetches the name of the user from a database and shows it on the screen. It was built just for the demonstration purpose but you can proceed with your application.
Note:
If you're using the sample application, please change the sample.env file to .env file and add your PORT and MongoDB URL. Don't forget to install the dependencies!
Once, your application is ready, test it on your local host.
1. Local Host
Backend
Let's get the backend ready for deployment
1.1 - Populate Database
- If you're using the sample application, add the MongoDB URL in dbPopulator.js file and run it to load sample data in your database.


1.2 - Dockerize your Application
Add a file named Dockerfile & .dockerignore to your Backend Folder
Add this code to the Dockerfile
FROM node:17-alpine
WORKDIR /app
COPY ./package*.json ./
RUN npm install
COPY . .
EXPOSE 3000
CMD ["node", "index.js"]
- To avoid adding your .env file to the Docker image add it to .dockerignore file

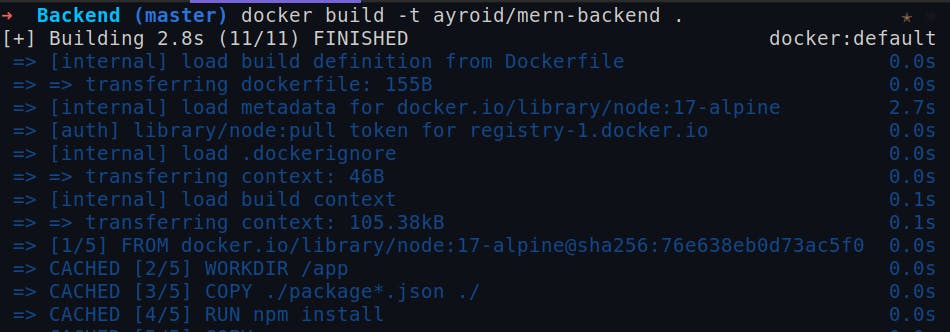
- Build the Docker Image
docker build -t dockerhub_username/backend_image_name .
1.3 - Push your NodeJS Image to DockerHub
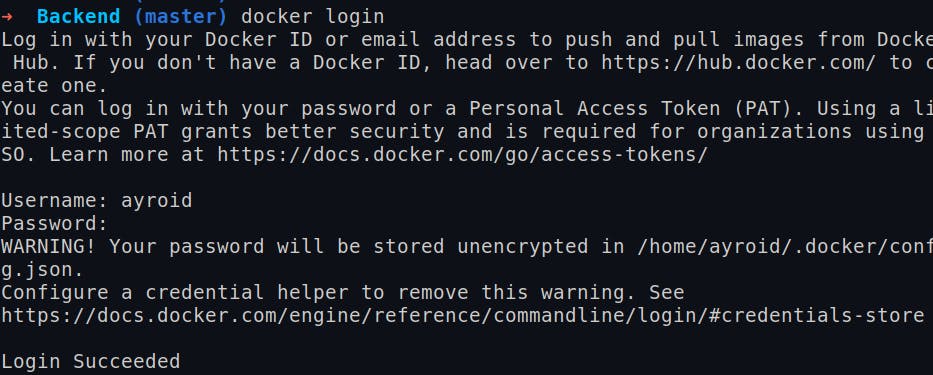
- Login to your DockerHub account via CLI.
- Push the Image to DockerHub
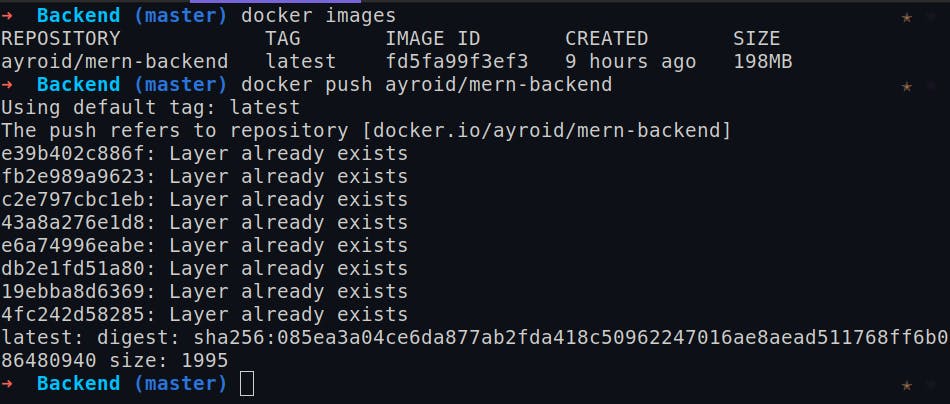
docker push dockerhub_username/backend_image_name
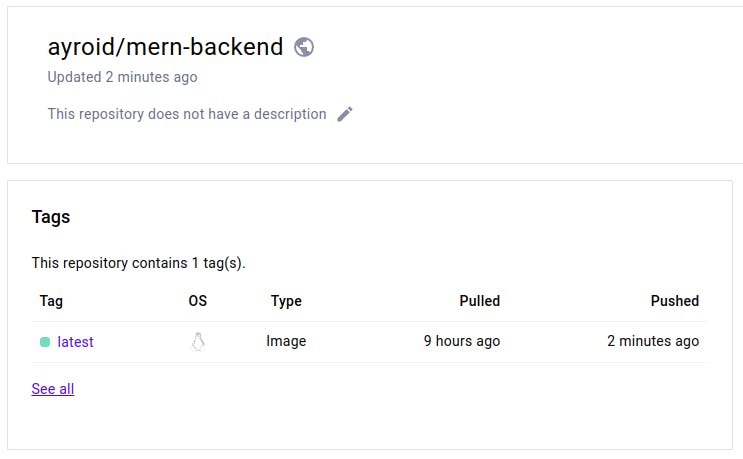
- Verify your Docker Image on DockerHub
Frontend
Let's get the Frontend ready for deployment
1.4 - Create Nginx configuration file
Create a file named nginx.conf inside Frontend Folder
Add the following code inside it.
Note: The IP Address and Port Number will be updated after we create the EC2 instance.
server {
    listen 80;

    location / {
        root /usr/share/nginx/html;
        index index.html;
    }

    location /api {
        proxy_pass <InstanceIP>:3000;
        proxy_http_version 1.1;
        proxy_set_header Upgrade $http_upgrade;
        proxy_set_header Connection 'upgrade';
        proxy_set_header Host $host;
        proxy_cache_bypass $http_upgrade;
    }
}
1.5 - Create React Application Build
Run the following command to create a build of your application. This will create a dist folder containing the built code.
npm run build

1.5 - Dockerize & Push The React Build
- Create another Dockerfile inside Frontend Folder and add the following code inside it.
FROM nginx:alpine
COPY nginx.conf /etc/nginx/conf.d/default.conf
COPY ./dist/ /usr/share/nginx/html
- To avoid adding your .env file to the Docker image add it to .dockerignore file.

- Build the Frontend Docker Image & Push it image on DockerHub
docker build -t dockerhub_username/frontend_image_name .

docker push dockerhub_username/frontend_image_name
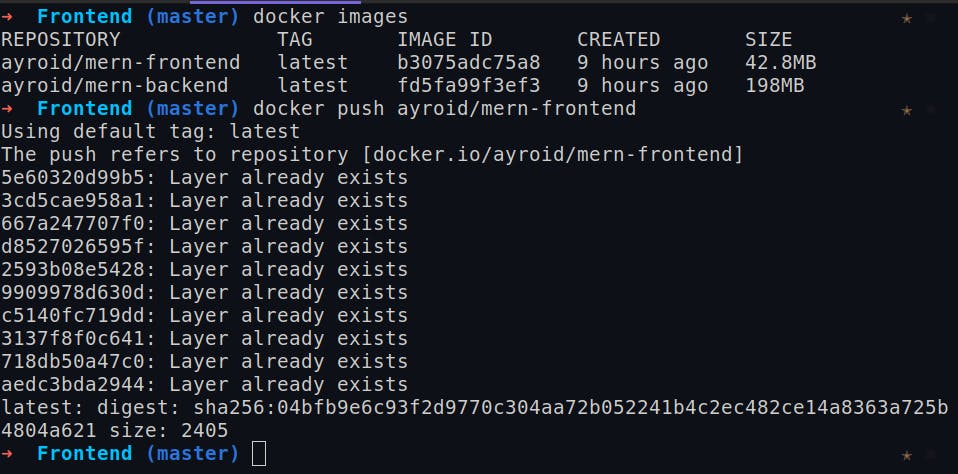
- Verify your DockerImage on DockerHub

Now, we are ready to create and configure the EC2 instance!
2 - Provisioning & Configuring EC2 Instance
- Login to your AWS Account
2.1 - Provisioning EC2 Instance
- Create a t2.micro instance using Ubuntu Image and create a new key pair or choose an existing one.

- Add inbound rules for ports 80, 443 & 3000 in the security groups by going to Instance > Security > Security Group > Edit Inbound Rules.

IMPORTANT!
Once your Instance is created, add its public ip in Nginx Configuration file that we created in Step 1.4 and in the sample.env file of frontend application on local machine.
Then re-create react application build & docker build then push it on DockerHub as done in Step 1.5
2.2 - Configuring EC2 Instance
Connect to your EC2 instance
Install Docker & Docker Compose on your EC2 Instance
Create a docker-compose.yml file and add the following code to it
Note:
Change both the image names with the ones you used while building your docker images.
Add your environment variables - MONGODB_URI & EC2 Public Instance IP
version: "3.8"

services:
  backend:
    image: <dockerhub_username>/<backend_image_name>
    container_name: mernbackend
    ports:
      - "3000:3000"
    environment:
      - MONGODB_URI=<MongoDB_URI>
      - PORT=3000

  frontend:
    image: <dockerhub_username>/<backend_image_name>
    container_name: mernfrontend
    ports:
      - "80:80"
    environment:
      - VITE_SERVER_URL="http://<InstanceIP>"
2.3 - Run your Application
- Once, you have the docker-compose.yml setup, use the following command on the EC2 instance to run your application
docker-compose up -d
- Enter your Instance's Public IP to see the hosted application

Congrats! Your Application is up and running!
- To shut it down run the following command
docker-compose down
3 - Automation
You can create Bash Scripts to automate the complete build & deployment process or use CICD tools, but let's see a simple bash script to update your server.
For demonstration purposes, I'm changing the text on the home screen from Hello Name -> Greetings Name.
3.1 - Deployment Trigger
- Create a bash script in the root directory of your project named - updateServers.sh
#!/bin/bash

# UPDATE FRONTEND

cd ./Frontend
npm run build
docker build -t dockerhub_username/frontend_image_name .
docker push dockerhub_username/frontend_image_name

# UPDATE BACKEND

cd ../Backend
docker build -t dockerhub_username/backend_image_name .
docker push dockerhub_username/backend_image_name

# UPDATE SERVERS

cd ..
ssh -i <KeyPair file path> <Ip Address> ./updateServer.sh

# SAMPLE COMMAND
# ssh -i ./ayroids.pem ubuntu@ec2-13-200-251-36.ap-south-1.compute.amazonaws.com ./updateServer.sh
3.2 - Server Update Script
- On the EC2 Instance, create another bash script named - updateServers.sh
docker pull dockerhub_username/frontend_image_name
docker pull dockerhub_username/backend_image_name
docker-compose down
docker-compose up -d
3.3 - Running The Scripts
- Change permission of both scripts to make them executable
chmod +x updateServers.sh
- Run the deployment trigger script on your local machine
./updateServers.sh


3.4 - Check the updates
- Visit the IP address of the Instance to verify updates
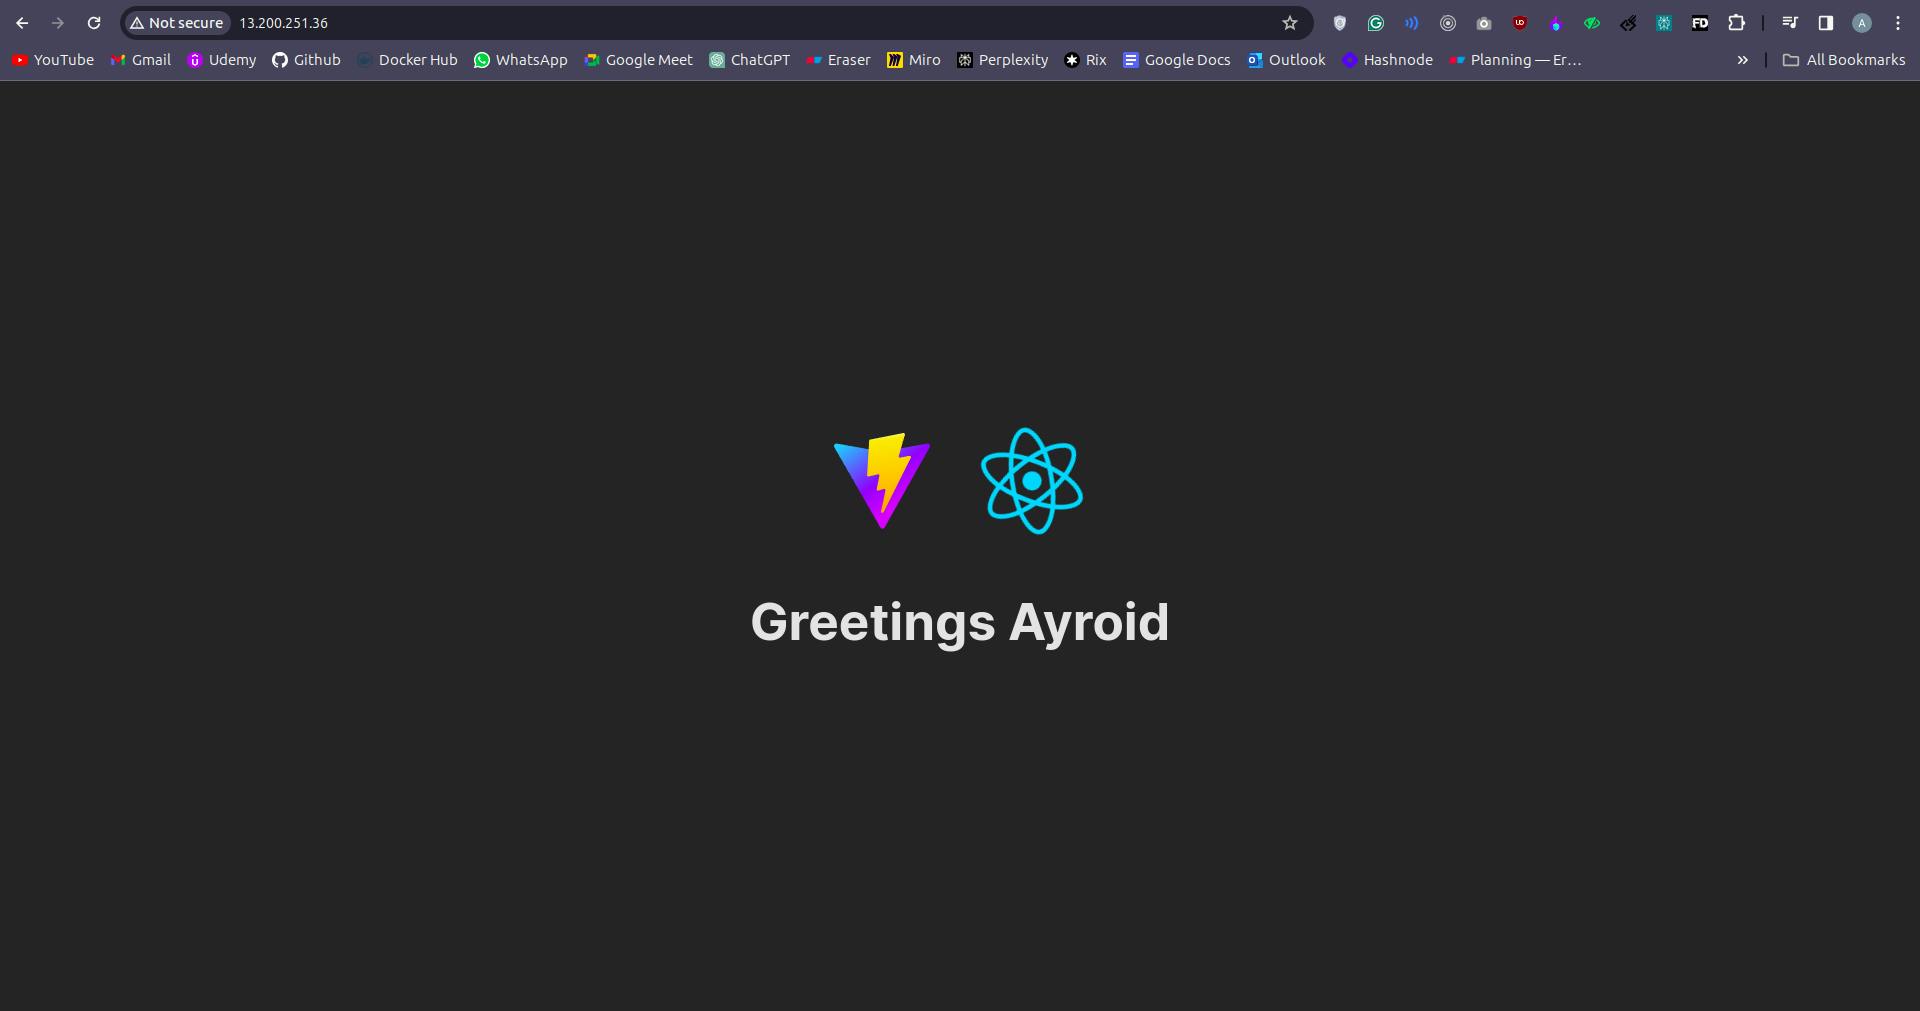
"Boom! That's a simplified and efficient recipe for dockerizing & deploying MERN applications.
Thank you for joining me on this journey. I'd love to hear your thoughts and insights, so feel free to share your comments. Don't forget to hit the follow button to stay tuned for more lessons learned and experiences in the development world.
Happy learning!
